Manually Building a Container Image
Fluent Engines can be used in a variety of ways to fit with your specific use-case. This article will discuss how to containerize a custom solution using the Fluent Java RESTful engine with Docker. With this method, it is simple to create your own custom implementation of the Java RESTful engine inside of a Docker container.
Requirements
- Docker Desktop installed, and configured to use Linux Containers
- A valid license key for the Java RESTful engine
- A Java RESTful Installation
Licensing
Fluent licensing exists for many different needs. There are Pros and Cons for each type of License. The FLEX license is meant to be used in automated management environments such as Container management systems, Azure services and Auto scaling virtual environments. If you are planning on hosting your application with the Java RESTful Engine with any of these types of environments, we highly recommend the purchase of a FLEX (per page) license instead of a PRO (per machine/instance) license.
Using a PRO license limits the number of containers that can be run the RESTful Engine concurrently to the number of engines purchased. Both PRO and FLEX license keys will be released automatically when the container shuts down.
Verify Docker Installation
This guide assumes that you have Docker Desktop installed and configured on your machine. If it is not, follow the Docker Desktop installation documentation here. To verify that your installation was successful, open a command prompt or Powershell window and run the command:
docker
If it returns a list of arguments, then Docker is installed on your machine. Additionally, Docker must be configured to run Linux Containers to successfully containerize the Fluent JavaRESTful engine. To check, right-click on the docker icon located in the hidden icons section of the Windows taskbar.


If the menu that appears says "Switch to Linux containers..." then Docker is configured to run Windows containers. If the menu says "Switch to Windows containers..." then Docker is configured to run Linux containers. To switch, simply click that option in the menu and select "Switch" in the resulting pop-up. We want to use Linux containers.
Getting Started
To get started, first we will pull the Tomcat10 Docker image using this command:
docker pull tomcat:10.1.5-jdk17
Once the Tomcat10 Docker image is downloaded, open up Docker Desktop application and click on "Images" in the left pane:
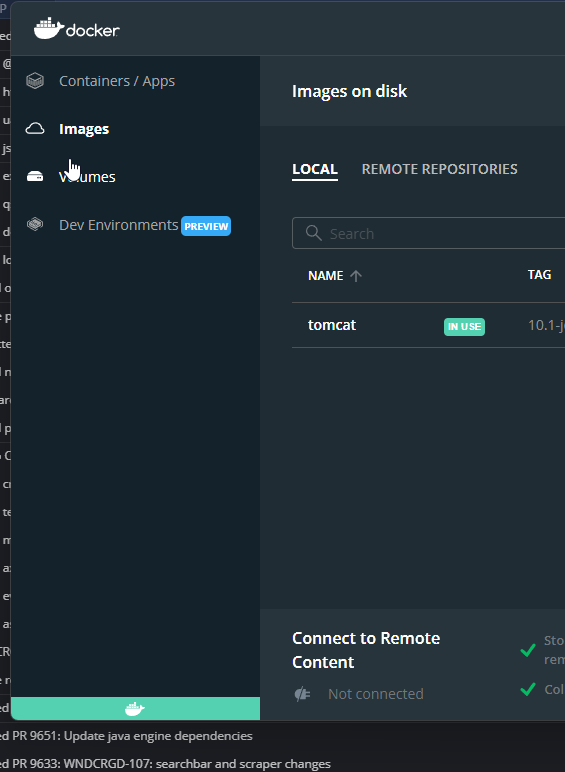
You will find the image we just installed (Name: Tomcat, Tag: 10.1-jdk17). To create a container with this image, we will click on the run button:

Now, we will expand the "Additional Options" dropdown and fill in the necessary information:
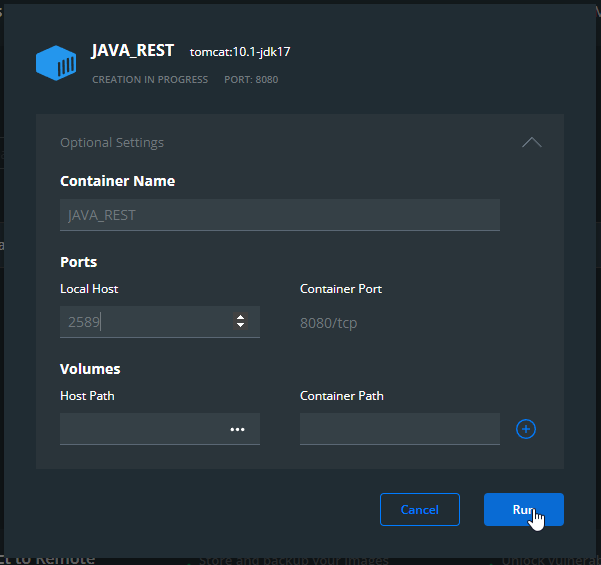
In there, we will give the container its name (I named it JAVA_REST) and the port associated with the container (I set it as 2589 but you can do any port number). Once that is set, click "Run" to run the container.
Now that the container is running, we need to transfer the RESTful engine into the container. We will do so using this command in your local command line. Make sure you have extracted the Java RESTful engine from the zip.
docker cp FULL\PATH\TO\Java_RESTful_Directory\ CONTAINER_NAME:/usr/local/tomcat/webapps/
Where FULL\PATH\TO\Java_RESTful_Directory\ is the full path to the unzipped Java RESTful folder, and CONTAINER_NAME is the name of the container you set above. This command will move the Java_RESTful_Directory folder to the webapps directory on the container, the name of the new directory will be the same name as on your local machine, so if it was 23.0.0.29 on your machine, it will be the same in the container (for the sake of this documentation we will call it Java_RESTful_Directory).
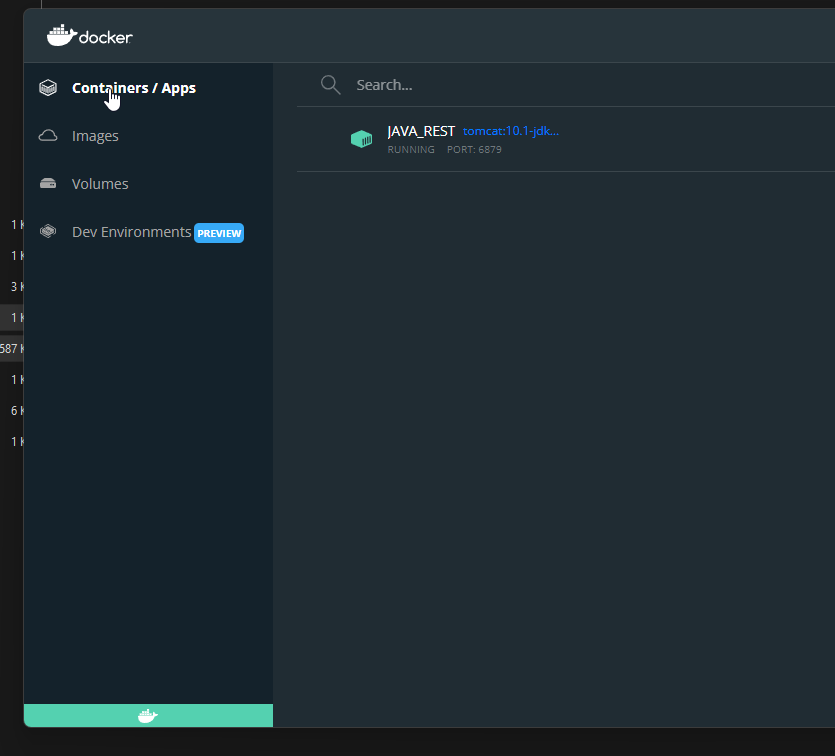
After this command runs successfully, we will need to run a few command on the actual container. To do so, open up Docker Desktop and click on the Containers in the left pane:
From there we are going to open up the command line by clicking this button on the container:
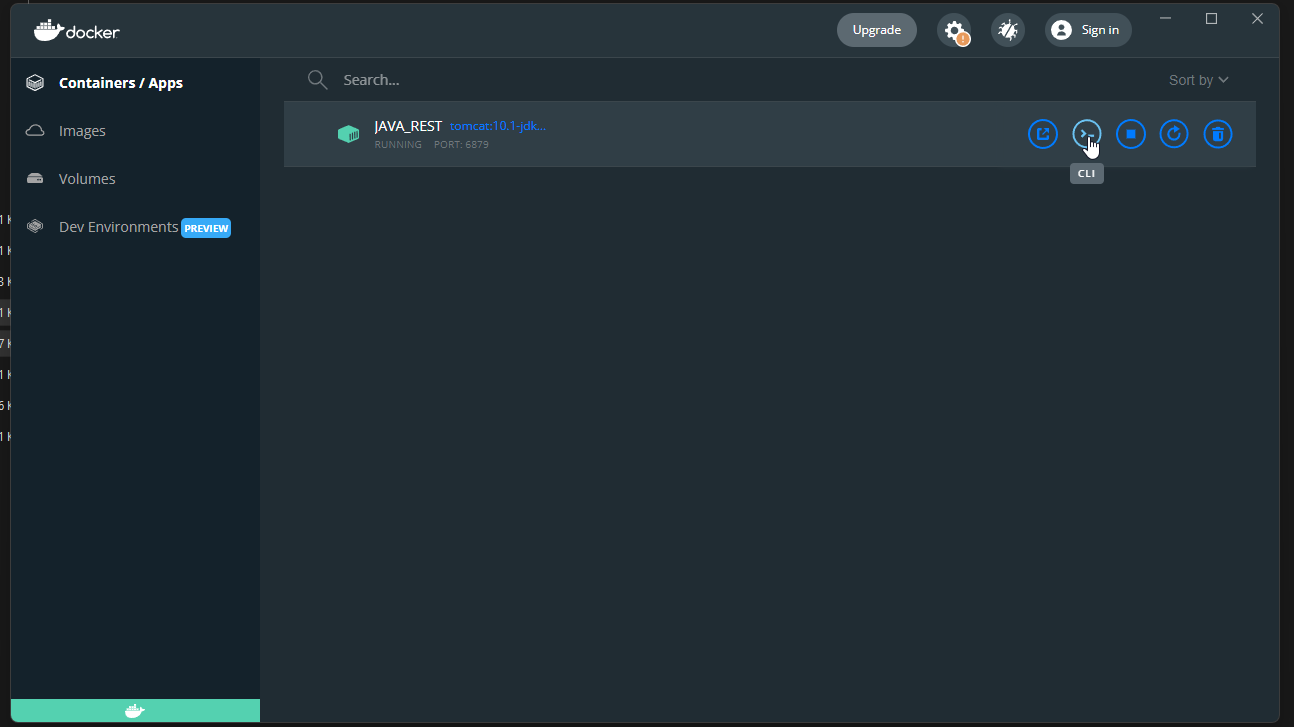
Once you do that, run the following commands:
cd webapps
mv Java_RESTful_Directory/* .
rm -r -f Java_RESTful_Directory
Make sure to use the right directory name in those commands.
Test the Container
After the container is run, open your internet browser and navigate to localhost:PORTNUM, where PORTNUM is the port number you assigned above, which will connect to the homepage of the Fluent Java Engine.
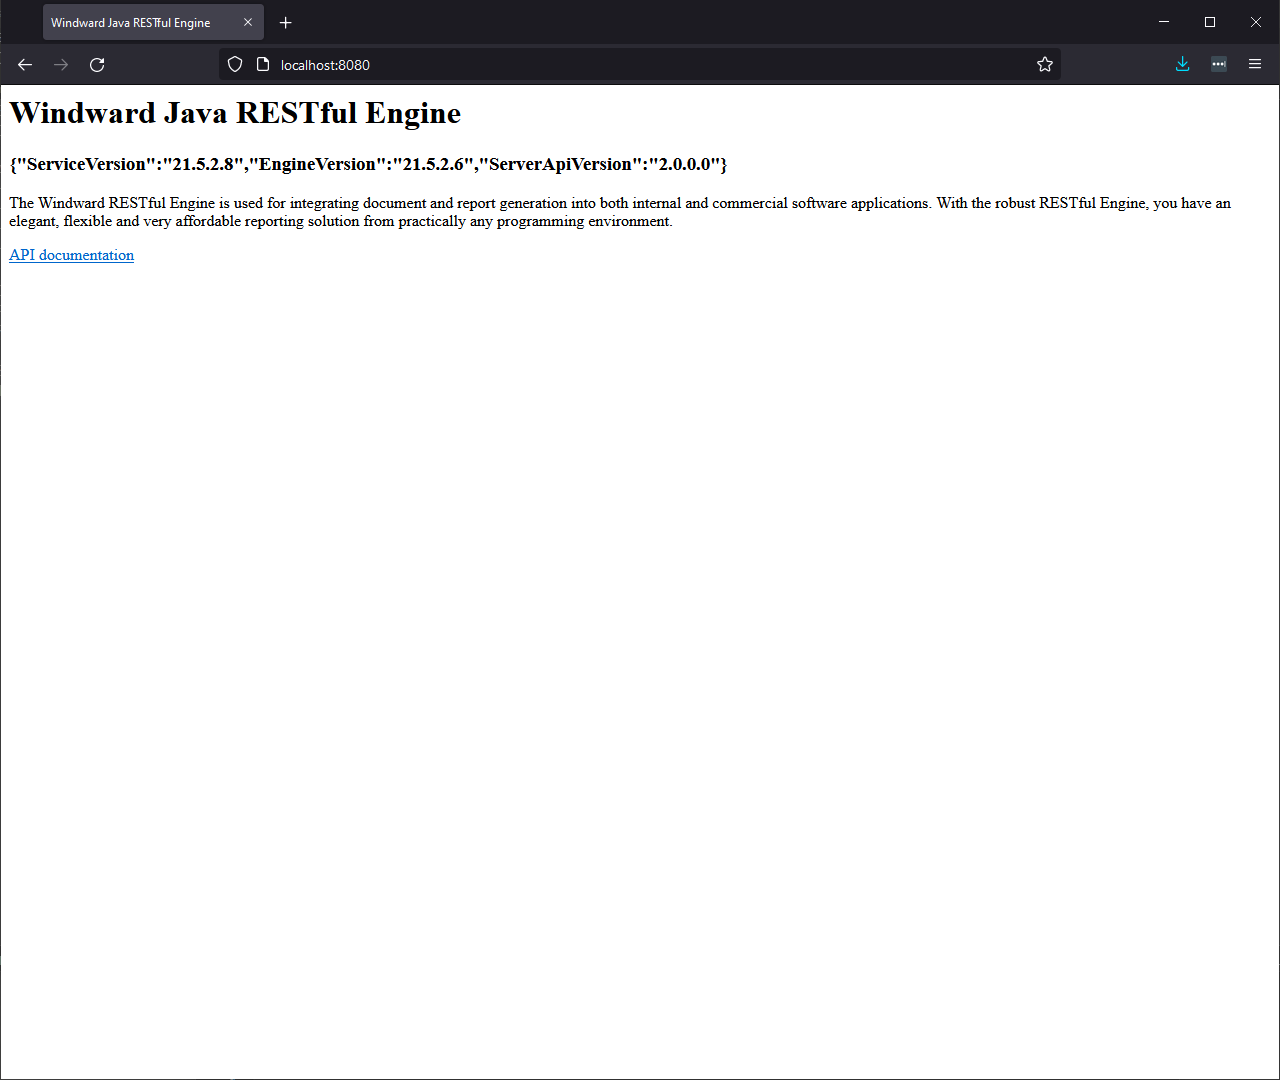
If it doesnt work instantly, give it a minute or two to launch the Java RESTful engine.
Setting the License Key
There are two ways you can pass the license key to the Java RESTful Engine on the container:
Passing the license key as a header with your requests
- You can use the header
X-WINDWARD-LICENSEto pass the license with your POST requests
- You can use the header
Setting the license in the config using Vim. This requires a few more steps, but you don't have to worry about including the license in the header:
Install Vim:
- In the command line for the container, run
apt-get update
apt-get install vim
Edit the WindwardReports.properties file using Vim
- Locate the WindwardReports.properties file on the container by running the following command:
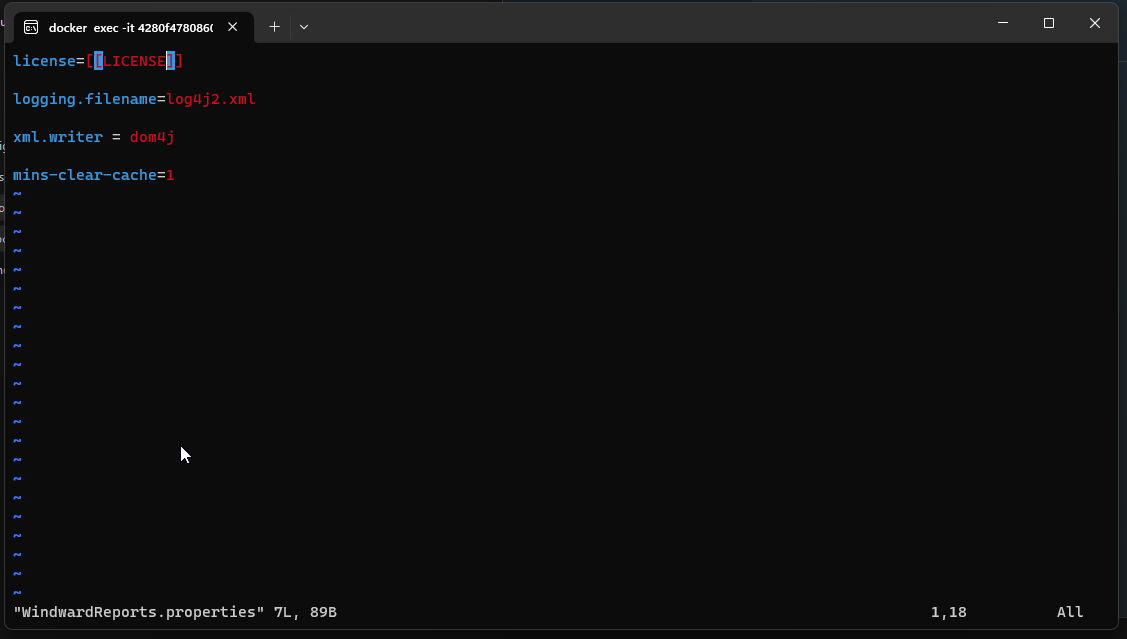
cd /usr/local/tomcat/webapps/ROOT/WEB-INF/classes- In there you will find the properties file. To edit it, run:
vim WindwardReports.properties- This should open the properties file in Vim:
- To enter "Insert" mode in Vim, click
i:
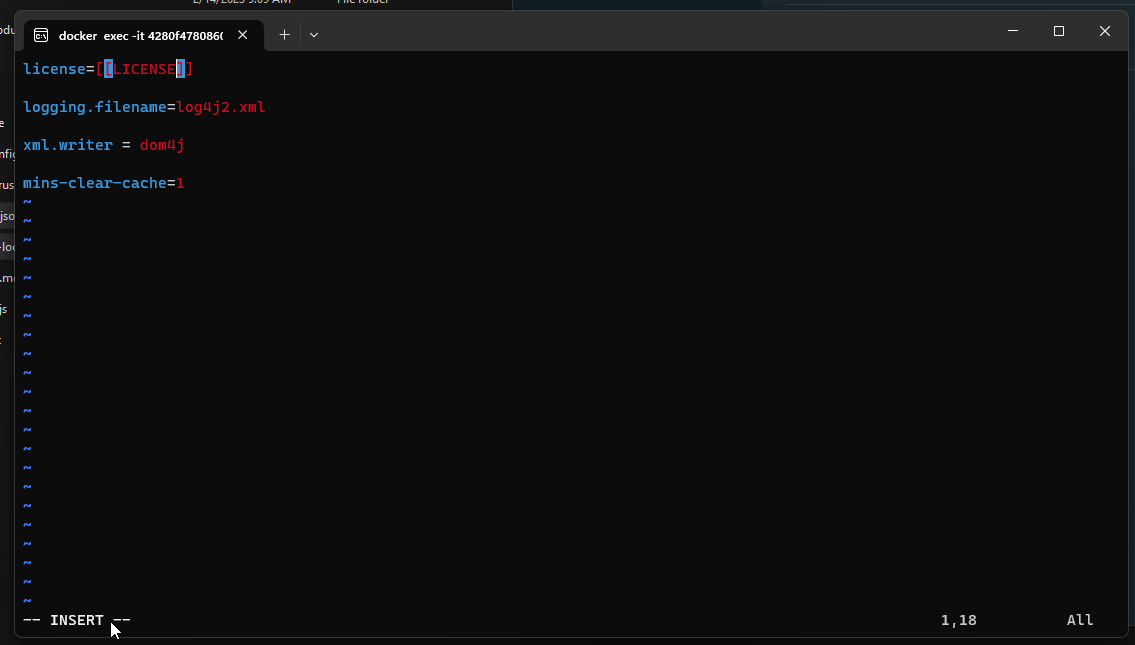
Navigate to the license using the arrow keys, and delete the "[[LICENSE]]", and replace it with your own license.
Once you have set your license, press the escape key, then
:xto save and quit Vim.Lastly, restart your container by stopping it and starting it again. You now have setup your license key in the properties file.
And that's it! You have successfully containerized the Java RESTful engine, and you can communicate with it by sending requests to localhost:8080. For more information on using the Java RESTful engine, see our OpenAPI reference.